All of the fields on your quotes and invoices can be customized to help you communicate with your customers, display specific customer information, and portray consistent branding. Instead of editing each individual quote and invoice, you can simply edit sections on your templates so the content will then be applied to all corresponding quotes and invoices. You can add content by typing in plain text or by including dynamic CRM properties such as {{deal.name}}.
Most fields can be customized in further detail using Liquid templating and Markdown syntax. Liquid variables pull dynamic content (e.g. customer, deal, and organization fields) from your CRM directly into your quotes or invoices. For your convenience, we provide a list of commonly used Liquid variables. This list is also available as a link when editing specific sections of your template, as shown below.
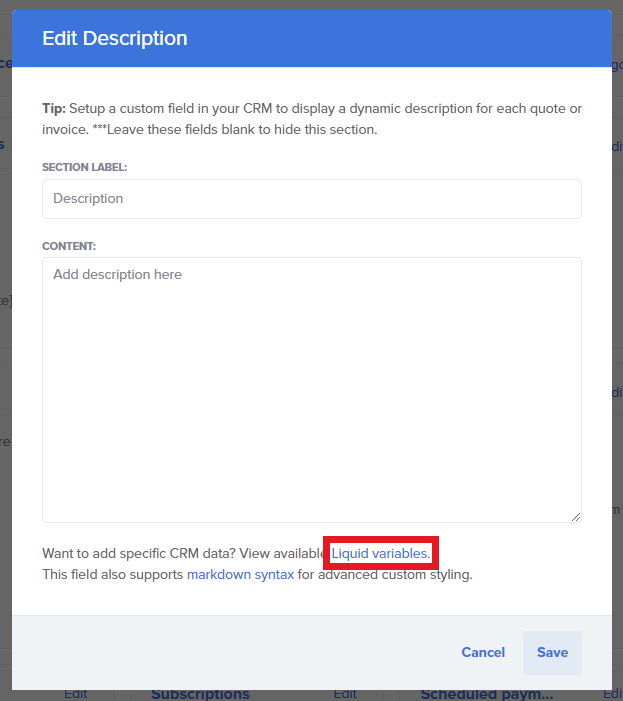
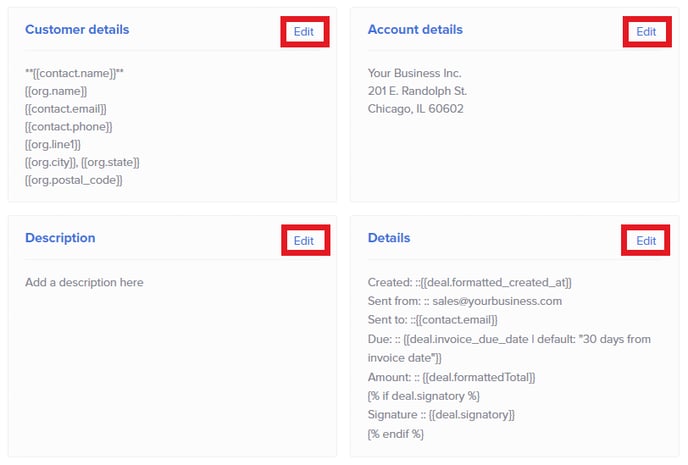
To add text to your template, navigate to Settings > Templates, open the template you'd like to work on, and click Edit in any section that you'd like to modify.
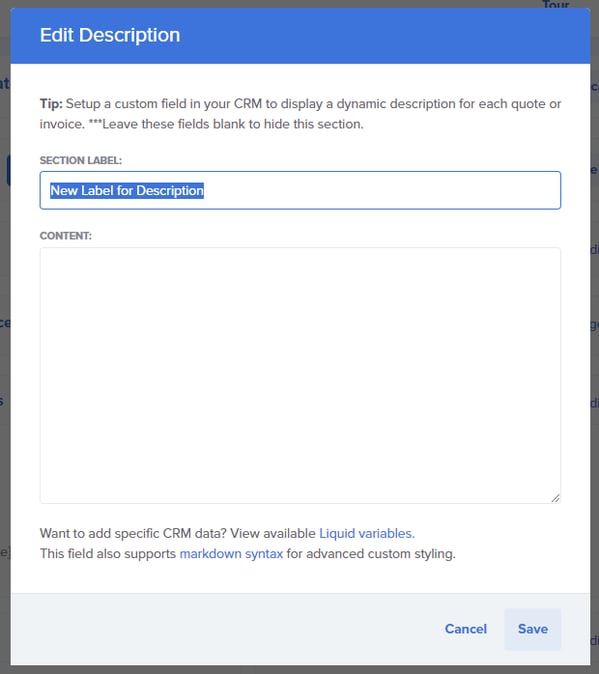
 A modal will then open where you can make your changes to the section. The section label can be entered at the top, and the content below.
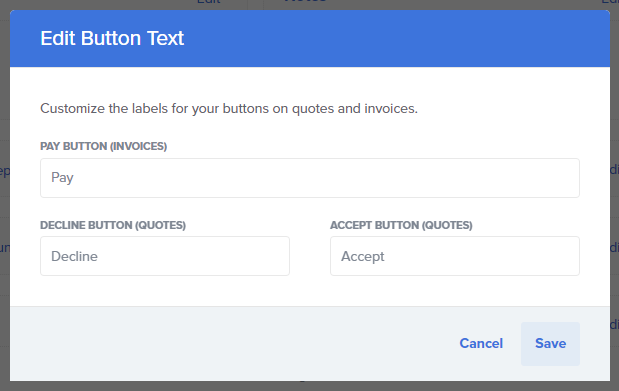
 To change the labels on buttons, scroll down the template to find Buttons: Pay, Accept, Decline.
 From here you'll be able to have the buttons say whatever you'd like.
If you do not wish to use a particular section on your template, simply delete all of the content from the section and leave it blank.
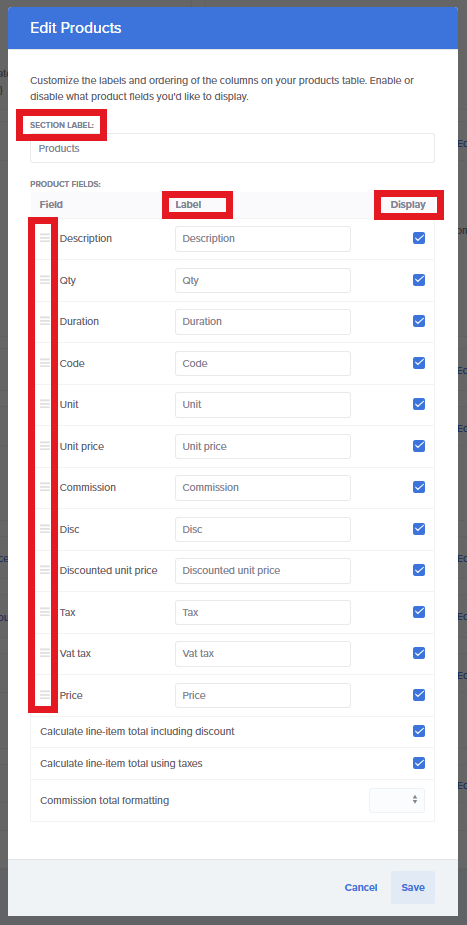
Several sections, such as Products, Scheduled Payments, and Labels, consist of lists whose content you can modify. You may open one of these sections and edit the section label and field labels. You can also change the order in which items appear by dragging, and whether they are displayed by checking and unchecking their boxes. Don't forget to save your updates!
Notes on Markdown and CSS
Using Markdown allows you to do more specific text formatting like changing font sizes, or adding links and image. See examples below:
Adding a formatted link:
[Your Link](https://example.com)
Adding an image:
[Your Image](https://example.com/image.png)
For more advanced users, feel free to use our CSS framework for styling.
Check out our video on Customizing Your Template for more details!