Each time a new customer pays their digital invoice, Paycove creates a customer in Stripe with the details from your CRM. By default, Paycove uses your customer's email, name and address fields. If you wish to use specific CRM fields to populate your customer information in Stripe, you can do that with our Stripe mapping feature.
Sending Customer Properties to Stripe
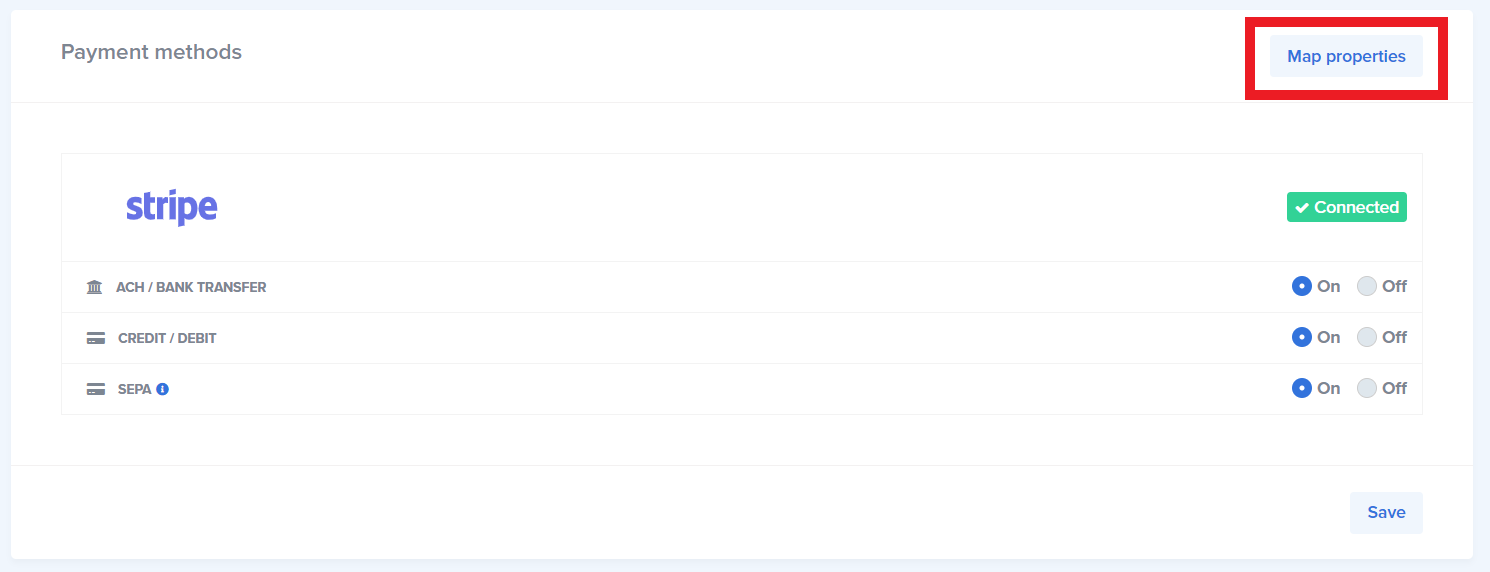
From your payment settings in Paycove, navigate to the top right of the screen and click ‘Map properties’.

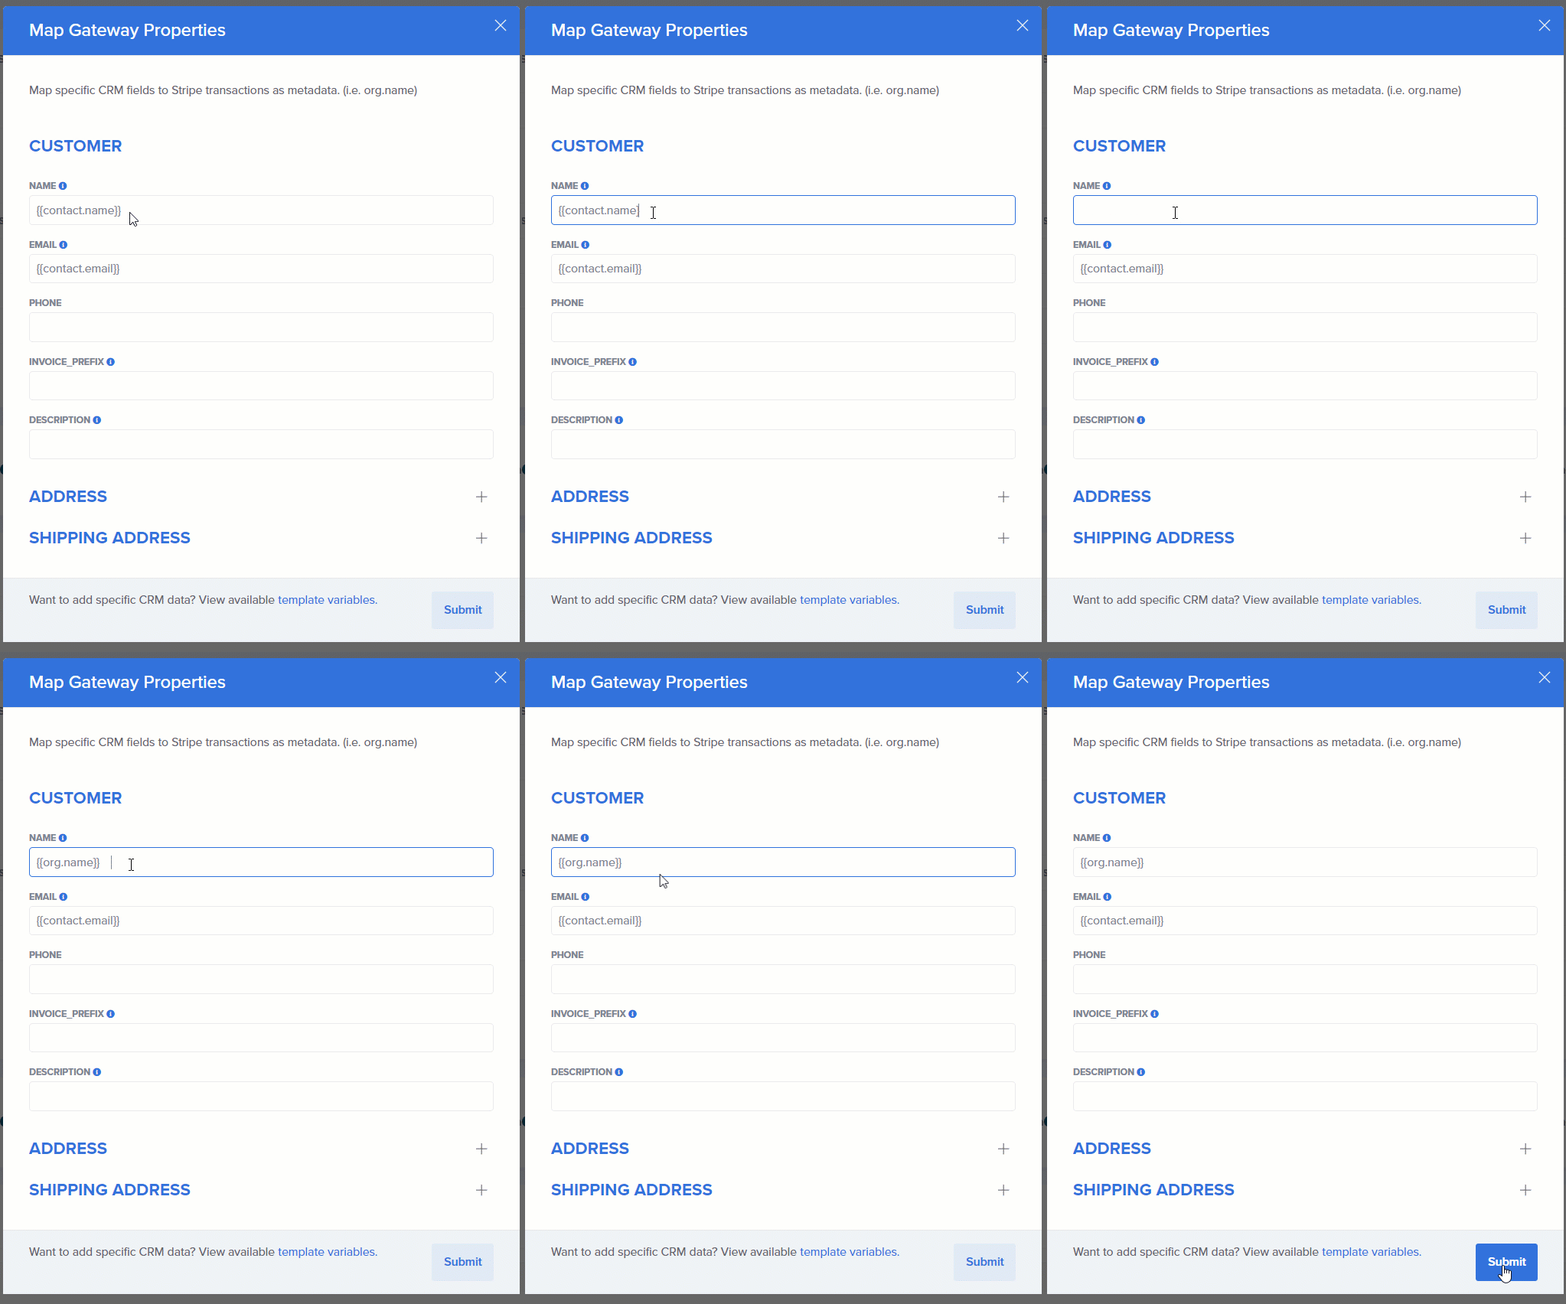
In the modal that pops up, you can enter in the specific template variables you want to send to Stripe for your customers. For example, you can use the organization name instead of contact name, or use the contact's mobile number for their phone information. For a full list of available Liquid variables, click the blue hyperlink at the bottom of the box. (This GIF shows "template variables," but we've updated the wording to "Liquid variables.") Once you’ve added the variables you need, don’t forget to click Submit in the bottom right corner.
When mapping these properties to send to Stripe, please keep in mind that some properties have specific requirements in Stripe. For example, an email needs to contain a "@" and the invoice prefix number must be unique. You can find all the requirements for customer fields on Stripe's documentation here.

Sending Addresses to Stripe
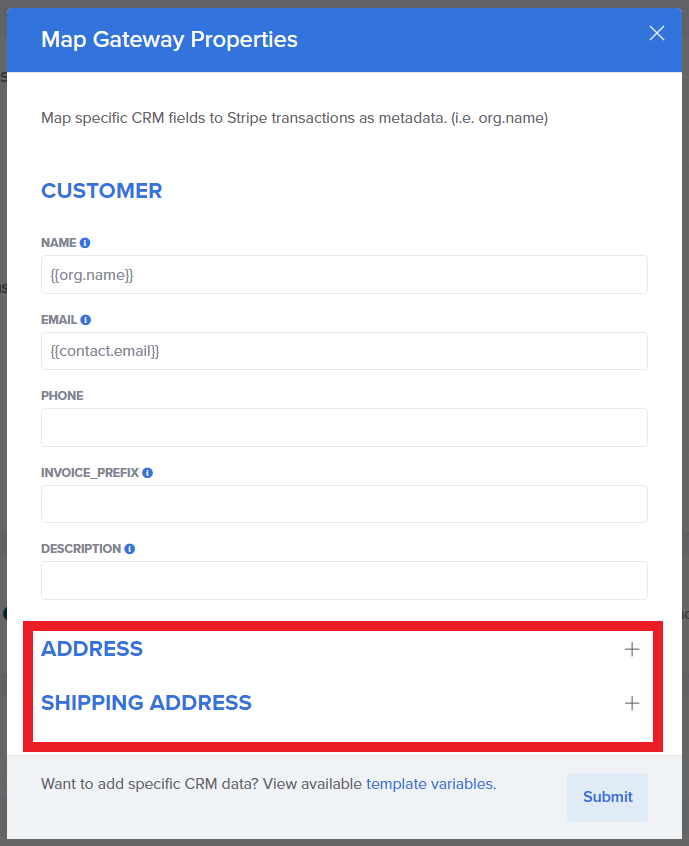
Similarly to how you can map which customer and organization information sends to Stripe, you can select a template variable for an address and a shipping address. Click the "plus" buttons to the right of these headings to expand these options.

Where do the mapped fields go in Stripe?
Once your customer pays their invoice, Paycove sends the customer and organization information from the mapped CRM fields to Stripe. You can find this information under the Customers tab in Stripe.
 Strip mapping settings will not apply to existing customers. You will have to manually make changes to any existing customers that you would like to follow the newly set mapping rules.