With Paycove’s new Zapier integration, you can connect Paycove to some of your favorite apps and tools, including spreadsheets, email, calendars, social media, messaging, e-commerce, and more. Automate tedious business processes with your existing applications, or explore Zapier's 2000+ app market place to find your new favorite app!
Automated connections called Zaps—set up in minutes with no coding—can automate your day-to-day tasks and build workflows between apps that otherwise wouldn't be possible.
Connecting Paycove to Zapier
Getting started is easy. First, sign up for a free Zapier account. If you already have a Zapier account, you can integrate your Paycove account from your Integration Settings.
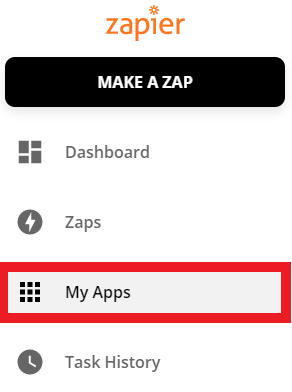
- Log in to Zapier and navigate to "My Apps" from the menu bar.
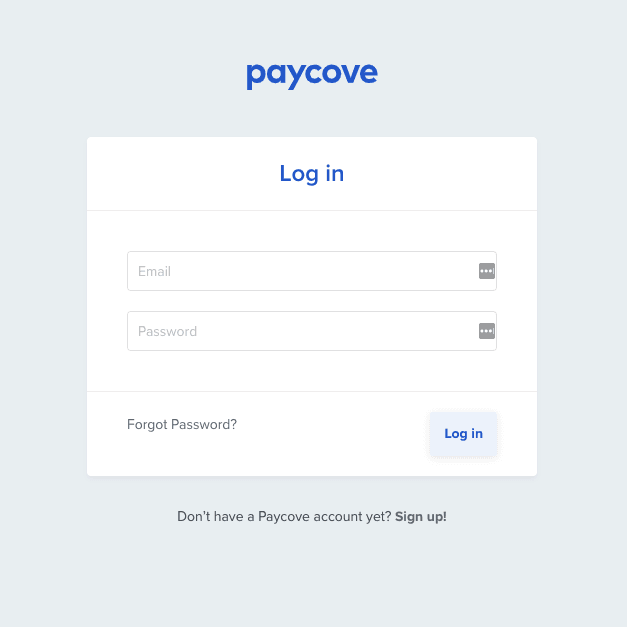
- Now click on "Connect a new account..." and search for Paycove.

- Use your credentials to authorize Zapier and connect your accounts.
- Once that's done you can start creating an automation! Use a pre-made Zap or create your own with the Zap Editor. Creating a Zap requires no coding knowledge and you'll be walked step-by-step through the setup.
Need inspiration? See everything that's possible with Paycove and Zapier.
Making a Zap
Each Zap will use Paycove as the Trigger, where an event in Paycove will cause one or more Actions in another app. The information in Paycove will get sent automatically to any Zapier friendly app of your choice.
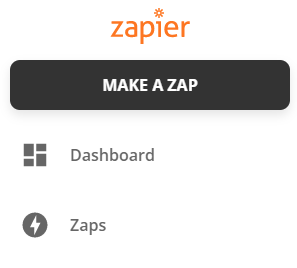
Once you’re in Zapier, click the black 'Make a Zap!' button.
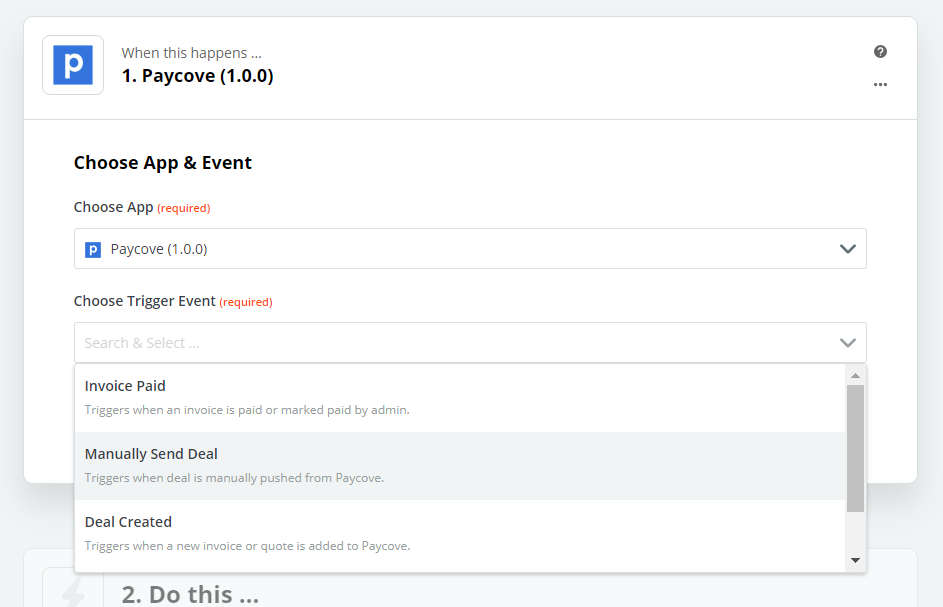
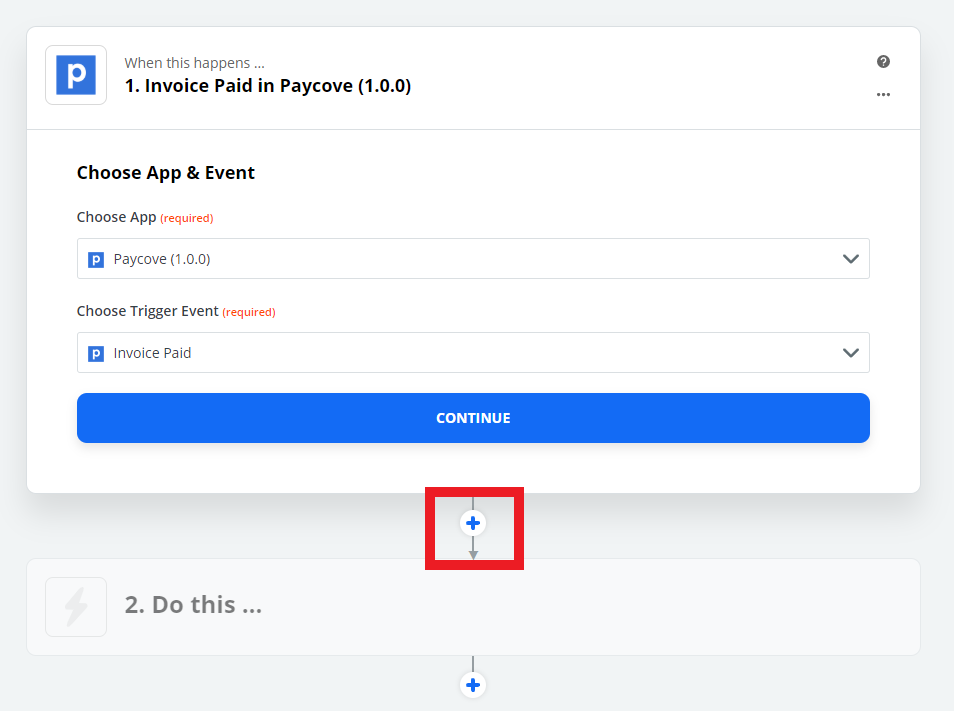
Step 1. Create a Trigger Event
Choose the Paycove app and a Trigger Event. You may have to search for the Paycove app initially.
Paycove Trigger Events include invoice paid, manually send deal, deal created, or quote accepted. Enter any additional information about your Paycove account as prompted.
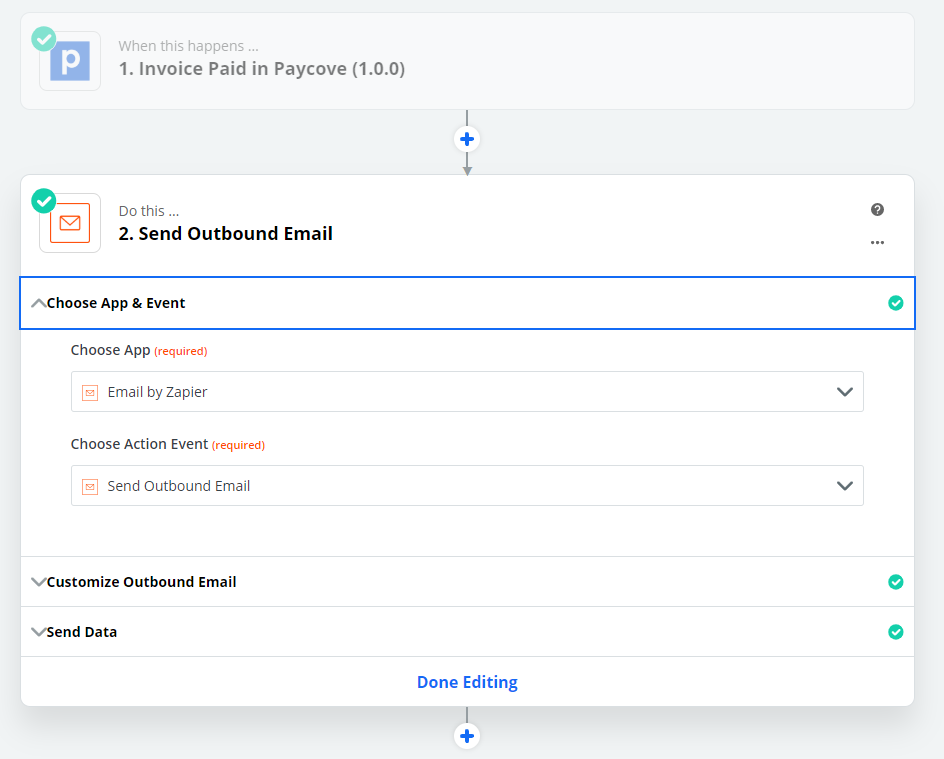
Step 2: Add Action Events
Once you’ve set the Trigger from Paycove, click on the blue + sign to add an action event in another app.
Use the drop-down menus to choose another app and an action event that will occur when your Paycove trigger action occurs. Follow the prompts to enter additional information about your apps or action events.
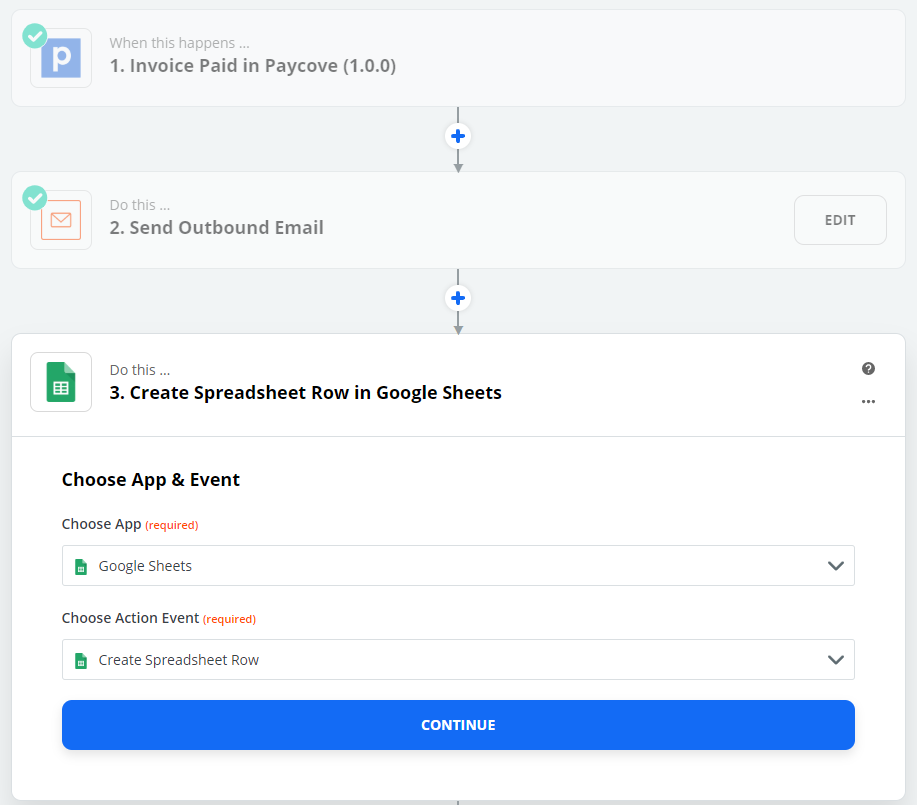
 By clicking the + sign multiple times, you can trigger multiple action events to occur from any given Paycove trigger.
Once you enter your Trigger and Action Events, turn on your Zap, and you're all set!
What information can I send to Zapier?
We send the same information to Zapier that Paycove uses for templates. This includes specific information for a deal and its related:
- Contact/customer
- Organization/business
- CRM deal owner
- Line items and products
- Tax groups
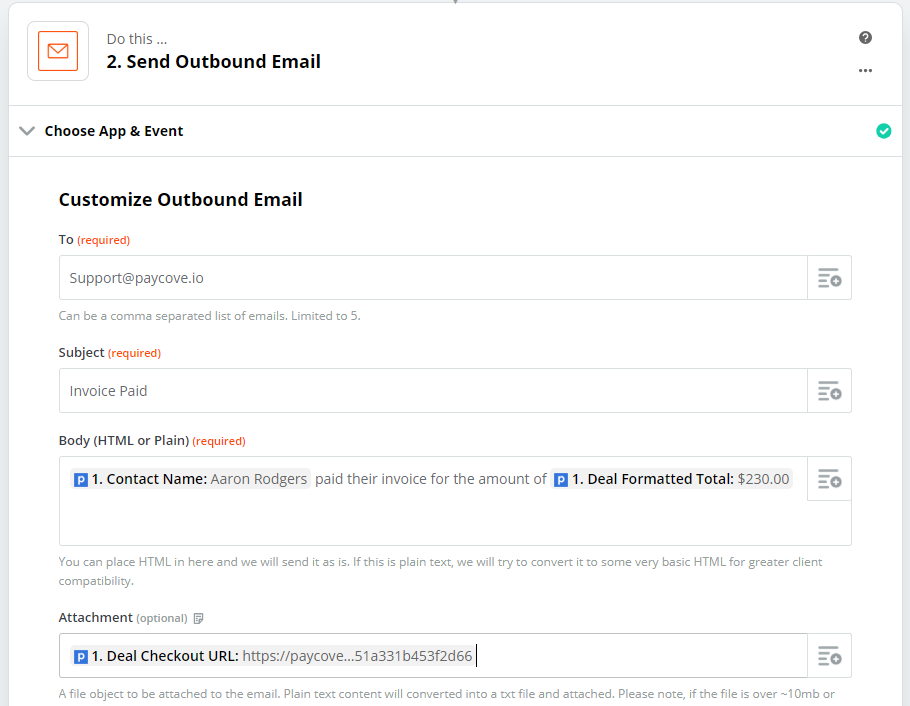
To add fields from Paycove, edit the details of your Zap and search for specific fields. For example, you can make a Zap that will send an email containing your deals "contact name" or "deal amount".
For more information check out Zapier's Help & Support page or reach out to contact@zapier.com.
Let us know how you plan to use the integration or if you have any suggestions for additional features you'd like us to consider!