Sometimes paying by good old-fashioned check is the way to go. Just make sure you're connected to a payment gateway, enable the correct settings, and type out your instructions.
Enabling Checks
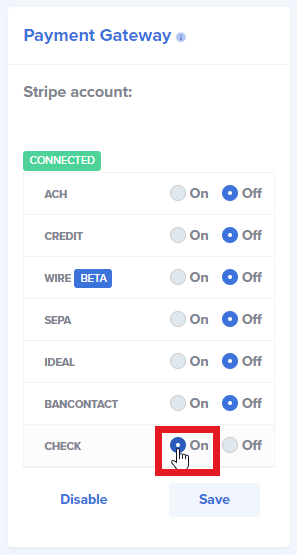
You'll first need to connect Paycove to a payment gateway such as Stripe, CardConnect, or Gravity Payments. You can do this in Settings > Payments. (Learn more about payment gateways here.) The Payments page is also where you can view, enable, and modify different payment methods. To enable checks, scroll down to Additional settings and set the Pay by Check status to On. Next, click the Setup button.

Setting Up Your Pay by Check Instructions
Upon clicking Setup, a modal will open. Here you will be able to create labels and instructions that your customers will see via the invoice when they pay by check.
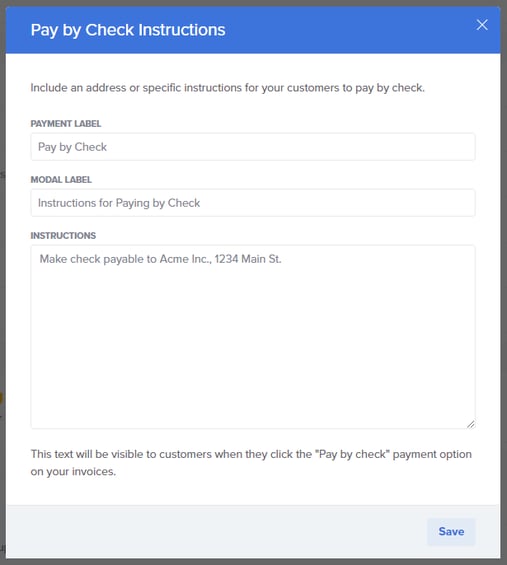
The Payment Label will be visible on the invoice itself, so name it something short and simple like "Pay by Check." The Modal Label will be the title of the modal (a.k.a. popup) that appears when the customer chooses to pay by check, and the Instructions will be shown in this modal as well. Type out a Modal Label as well as instructions for your customer to follow. Save when you've finished.
Customer View
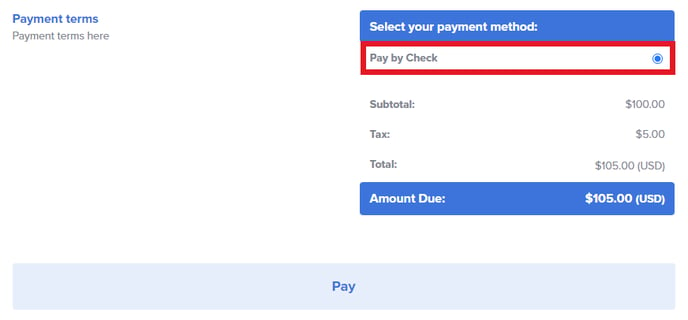
The customer will see the "pay by check" option on the invoice. There they can select it and click Pay.
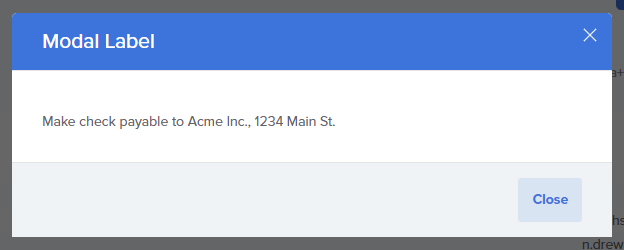
A modal will then open containing the information that you entered previously. Having the "pay by check" information open in a modal like this, as opposed to being typed in plain text on the invoice, ensures greater security and privacy with your mailing information.
Setting Up Checks on Template and Quote/Invoice Level
If a "pay by check" option isn't showing up where you need it to for some reason, there may be a simple explanation. Since Paycove allows for customization in many different areas, it is possible that checks just need to be enabled on another level in addition to the Settings > Payments level. Use the following information as a mini guide for troubleshooting as well as learning about different customization options.
Template Level
In regards to customizing on the template level, you can choose which templates you'd like to have connected to a payment gateway. With your desired template open, look for the sidebar titled Payment Gateway. You can connect here as well as enable checks and any other payment type. Click Save once you're done.
Quote/Invoice Level
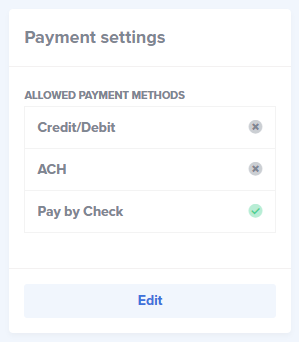
Be sure that checks are also enabled on your desired quote or invoice. Just open the quote/invoice and scroll down to the sidebar titled Payment settings. It will tell you what is enabled here, and if needed, you can modify what payments types are allowed on this individual quote/invoice by clicking Edit.
A modal will open, and you can change what you'd like there. Save your changes when you're finished.