Can’t find the CRM data you’d like to use in our list of Liquid variables? To add the data to your quotes and invoices, you’ll first have to create a new field in your CRM, and then pull that information into Paycove. (If you're not familiar with Paycove's variables at all, see a brief tutorial here.)
You can add the fields you create, known as custom fields, at the template level to be applied to multiple quotes/invoices, or on an individual quote/invoice for quick use.
Note: Keep in mind that this article describes how to pull data from your CRM into Paycove. If you would like to know how to push data from Paycove into your CRM, read this article or watch this video.
Creating Custom Fields in your CRM
You will need to complete this step before doing anything else. If you’re using HubSpot, you’ll need to add a property in your settings. If you’re using Pipedrive, you’ll have to add a custom field in your company settings.
Importing Custom Fields to Paycove
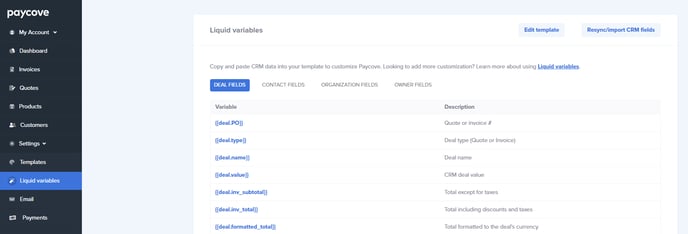
Once you’ve added the new field in your CRM, you'll need to go to the Liquid variables page in Paycove and click Resync/import CRM fields at the top of the page. This will cause your new custom variable(s) to pull into this list.

Now you’ll be able to see all the fields available for deals, contacts, organizations, and owners, including what you just imported. Your custom fields will appear at the bottom of this list.
Locating Your Custom Fields
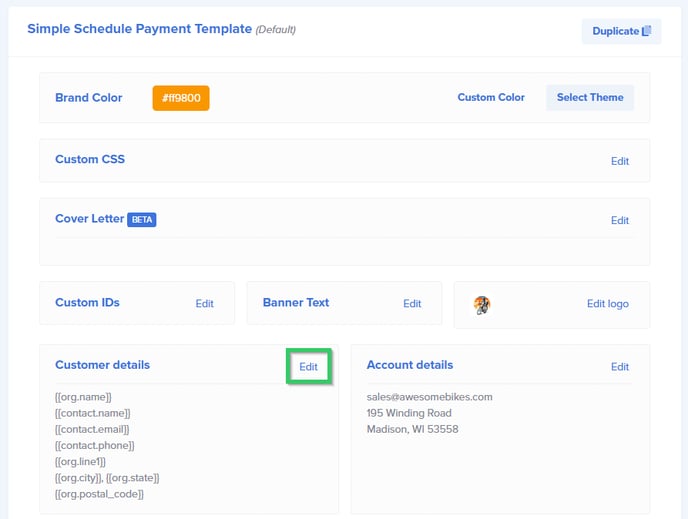
Open either your template editor or an individual quote/invoice. Click Edit in one of the text sections.
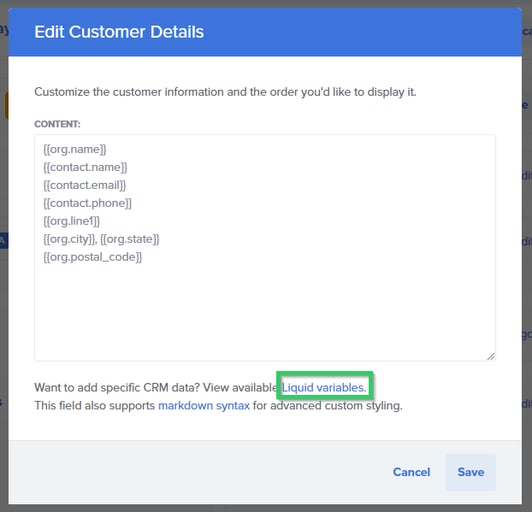
Then click on the Liquid variables link to see all available CRM fields.
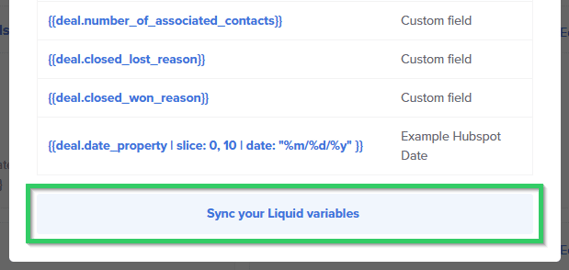
Scroll down towards the end of the list to see your new custom fields. Any time a custom field is created, it will show up at the bottom of the Liquid variable window.
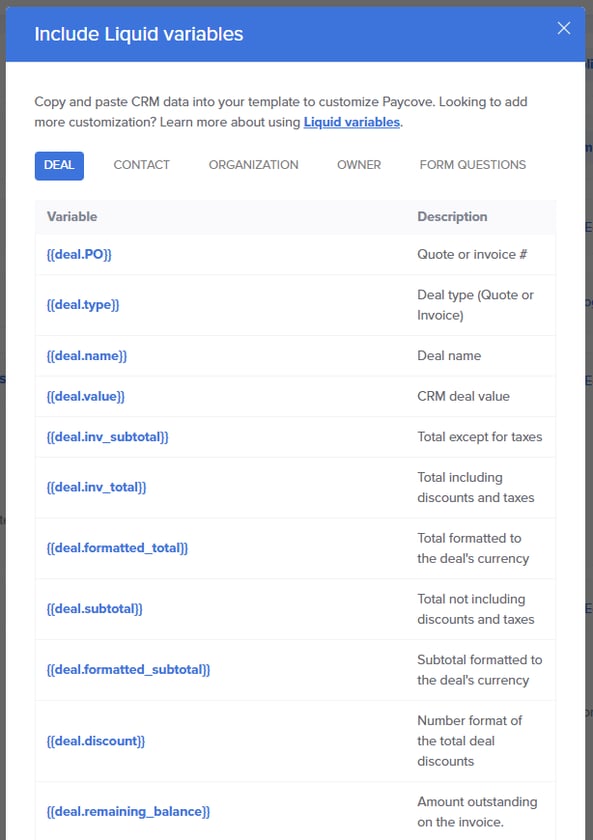
Locate your custom field here.
If you don't see the newly created field in Paycove, or perhaps forgot to import your CRM fields, click the Sync your Liquid variables button.
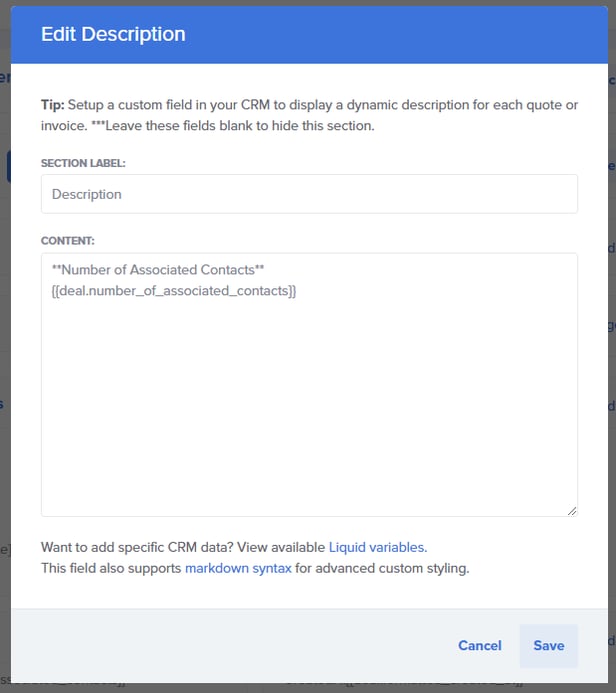
Copy your variable (the part in blue text) and paste it into the section of your template or quote/invoice where you'd like to display the data. We've also typed in a heading that will appear just above the variable, as it will just pull in as a number with no context otherwise. Click Save to save your changes.
Now, when you view the quote or invoice that has the variable you've added, it will display the data that has been pulled in from the associated field in your CRM. Below is the output from our example. Remember that this will only show in plain text in your quote/invoice, but will always just look like a Liquid variable when viewing the template.
 Note: If there is no data for this field in your CRM, then it will display as a blank space on your quote or invoice.
Custom Product Fields
Some CRMs allow you to add custom fields describing the products used on your quotes and invoices. For example, you may have additional fields for product specifications such as size, color, or type. To use custom product fields on your invoices, use the following steps.
Note: Custom product fields are only supported with CRM Products, not Paycove Products.
Step 1
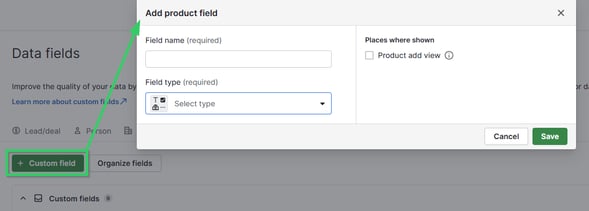
Create your custom product field in your CRM. Remember to refer to these guides on how to create custom fields in HubSpot and in Pipedrive.
HubSpot - Custom Product Property

Pipedrive - Custom Product Field
Step 2
In Paycove, go to the Liquid variables page and click the Resync/import CRM fields button at the top of the page. This will pull in your new variable(s).
Step 3
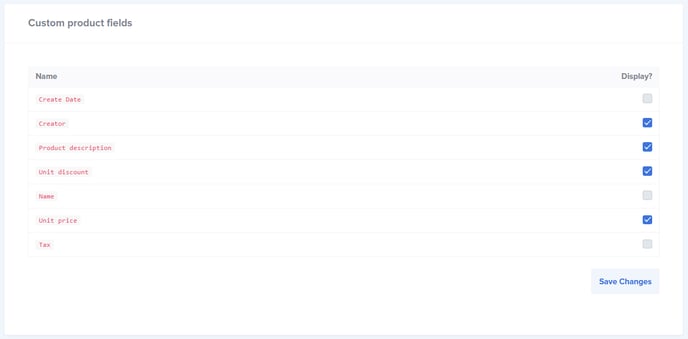
Scroll down towards the bottom of the page and check the box to display any of the desired custom product fields. Click Save Changes afterwards.
Step 4
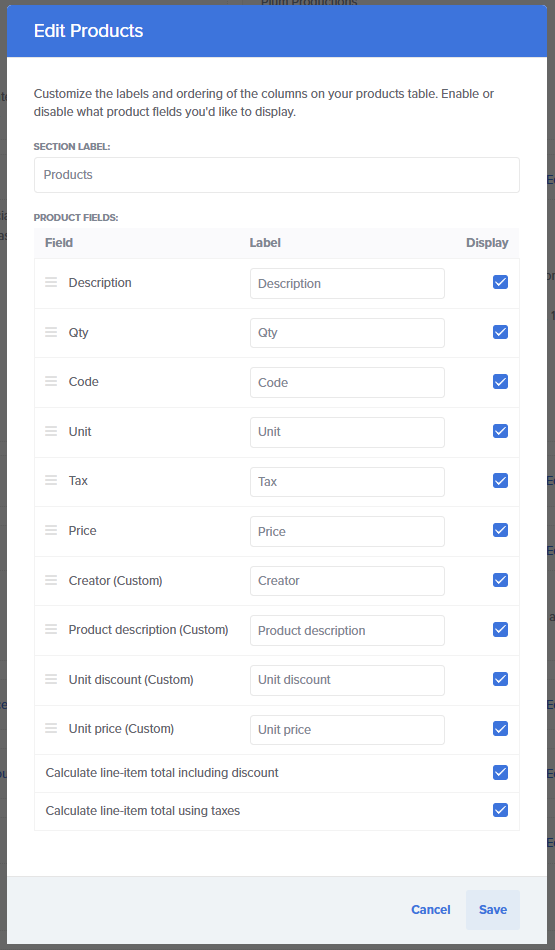
Next, go to your template and Edit the Products section. (Or you can edit the Products table of an individual quote/invoice, if that's all you'd like to change.)

Here, you can choose which fields to display on your Products table. You can drag these fields around to re-order them. Note that custom product fields will appear at the bottom of this window. Save any changes you make here.
Your fields should now appear on the Products table of your quote/invoice.

For more advanced customization using Liquid code, watch the Custom Fields video posted at the beginning of this article, or learn about date formatting using Liquid filters. T explore the Liquid documentation, take a look at this website.
For HubSpot Users: Important Note on Adding Dates
HubSpot and Paycove keep track of time in different ways (seconds vs. milliseconds). So if your custom field is related to date/time, and appears to be pulling in a seemingly random string of numbers, know that this may simply be a formatting issue (and not truly random!). To solve this, you can add a "slice" element to your code after the main part of the variable, but before the date, as shown below. The important addition is | slice: 0, 10 |. Simply copy and paste this code, and switch out our variable with your own. This example in particular is for displaying a performance period.
{{deal.license_start_date | slice: 0, 10 | date: "%d.%m.%y"}}